How to Install CakePHP 5 on XAMPP (Beginner-Friendly 2025 Guide + Fix URL Rewriting)
Step-by-step guide to install CakePHP 5 on XAMPP with PHP 8.2+. Very easy English for beginners. Includes fixing URL rewriting, enabling intl (ext-intl), and connecting to MySQL database.

This guide is written in very simple English for beginners and junior developers. We will set up CakePHP 5 on XAMPP with PHP 8.2+. We will also fix the common error “URL rewriting is not properly configured on your server.” We will enable the intl extension (ext-intl), and we will connect to a MySQL database. At the end, you will see the CakePHP welcome page running on your computer.
Table of Contents
- What You Need Before You Start
- Step 1 — Install and Start XAMPP
- Step 2 — Install Composer
- Step 3 — Create a New CakePHP 5 Project
- Step 4 — (Optional) Create a Virtual Host
- Step 5 — Enable Apache mod_rewrite
- Step 6 — Allow
.htaccessto Work - Step 7 — Open the CakePHP Welcome Page
- Step 8 — Create and Connect to a MySQL Database
- Fix: Missing
ext-intl(Enable PHP intl) - More Troubleshooting (Clean URLs, Blank Pages, Composer)
- FAQs
- Wrap Up
What You Need Before You Start
- XAMPP (latest, with PHP 8.2+). You can install it in
C:\xampp(Windows default). - Composer (PHP dependency manager). During install, point it to
C:\xampp\php\php.exe. - Basic knowledge: start/stop Apache and MySQL from the XAMPP Control Panel.

Step 1 — Install and Start XAMPP
- Install XAMPP to
C:\xampp. - Open XAMPP Control Panel.
- Click Start for Apache and MySQL. The status should turn green.
If Apache does not start, another app may use port 80 or 443. Close Skype/Teams/IIS, or change Apache ports in XAMPP Config.
Step 2 — Install Composer
- Run the Composer installer.
- When asked for PHP path, choose
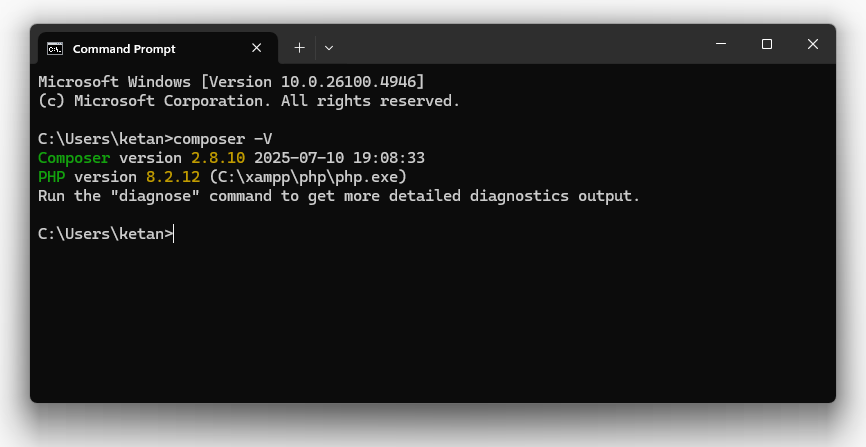
C:\xampp\php\php.exe. - Open Command Prompt and type:
composer -V
If you see a version number, Composer is ready.
Step 3 — Create a New CakePHP 5 Project
- Go to
C:\xampp\htdocs. - Open Command Prompt here (Shift + Right Click → “Open PowerShell window here”).
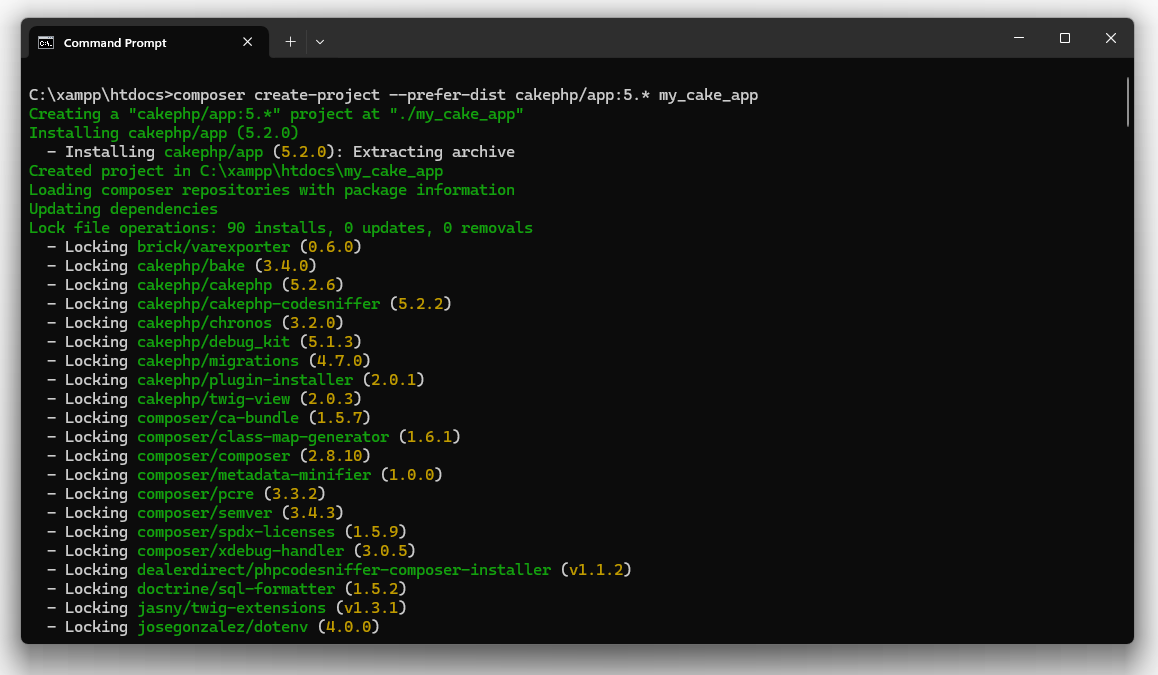
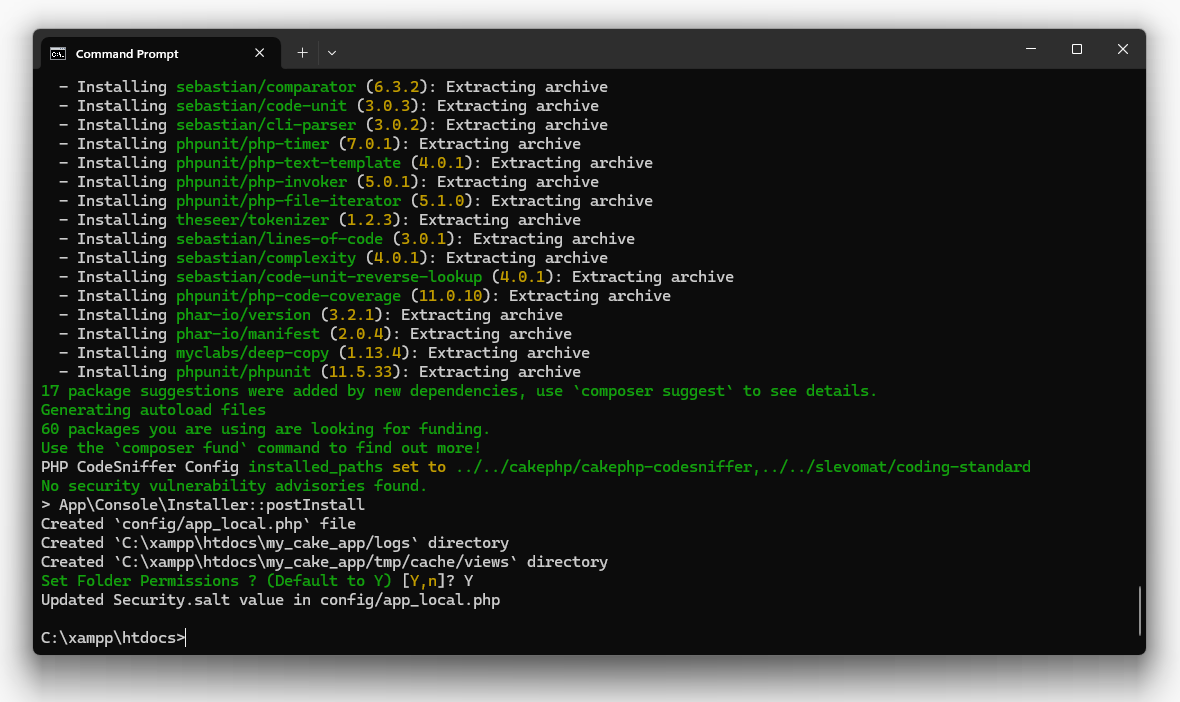
- Run the command below to create a new project folder called
my_cake_app:
composer create-project --prefer-dist cakephp/app:5.* my_cake_app
This downloads CakePHP 5 and sets everything inside htdocs\my_cake_app.
Now access the URL, http://localhost/my_cake_app and you can see the welcome page of the project.

Step 4 — (Optional) Create a Virtual Host
This makes clean URLs like http://mycake.local and helps with URL rewriting.
- Open
C:\xampp\apache\conf\extra\httpd-vhosts.conf. - Add this to the end:
<VirtualHost *:80>
    ServerName mycake.local
    DocumentRoot "C:/xampp/htdocs/my_cake_app/webroot"
    <Directory "C:/xampp/htdocs/my_cake_app/webroot">
        Options Indexes FollowSymLinks
        AllowOverride All
        Require all granted
    </Directory>
</VirtualHost>
- Edit
C:\Windows\System32\drivers\etc\hostsand add:
127.0.0.1 mycake.local
- Restart Apache from XAMPP.
Now try http://mycake.local. You will see the project is loading with the new URL as well.

Step 5 — Enable Apache mod_rewrite
CakePHP needs URL rewriting. Turn on mod_rewrite:
- Open
C:\xampp\apache\conf\httpd.conf. - Find this line and remove the
#at the start:
#LoadModule rewrite_module modules/mod_rewrite.so
Change to:
LoadModule rewrite_module modules/mod_rewrite.so
- Save the file and restart Apache.
Step 6 — Allow .htaccess to Work
Apache must allow overrides, or your .htaccess files will not run.
- Open
C:\xampp\apache\conf\httpd.conf. - Find the
<Directory "C:/xampp/htdocs">block. ChangeAllowOverride NonetoAllowOverride All:
<Directory "C:/xampp/htdocs">
    Options Indexes FollowSymLinks Includes ExecCGI
    AllowOverride All
    Require all granted
</Directory>
- Save and restart Apache.
Note: CakePHP places .htaccess files in the project root and in webroot. With overrides allowed, these will work.
Step 7 — Open the CakePHP Welcome Page
Open your browser:
- If you created a virtual host:
http://mycake.local - Else:
http://localhost/my_cake_app
You should see the CakePHP 5 welcome page. If not, see the troubleshooting below.
Step 8 — Create and Connect to a MySQL Database
8.1 — Create a Database in phpMyAdmin
- Go to
http://localhost/phpmyadmin. - Click Databases.
- Type a name, for example
cakephp_app. - Select collation utf8mb4_general_ci.
- Click Create.
8.2 — Add Database Settings in CakePHP
Open config/app_local.php and find the Datasources block. Update your settings:
'Datasources' => [
    'default' => [
        'className' => 'Cake\Database\Connection',
        'driver' => 'Cake\Database\Driver\Mysql',
        'persistent' => false,
        'host' => 'localhost',
        'username' => 'root',
        'password' => '', // XAMPP default is empty
        'database' => 'cakephp_app',
        'encoding' => 'utf8mb4',
        'timezone' => 'UTC',
        'cacheMetadata' => true,
    ],
],
Save the file. Restart Apache and MySQL (just to be sure).
8.3 — Test the Connection
Refresh the welcome page. It shows a Database status. If it is green, connection is OK. If there is an error, check your username/password and database name.

Why this matters: Without a working database, you cannot build real features like users, posts, or orders.
Fix: Missing ext-intl (Enable PHP intl)
When installing CakePHP 5, you may see this error:
Problem 1
  - Root composer.json requires cakephp/cakephp 5.2.* -> satisfiable by cakephp/cakephp[5.2.0, ..., 5.2.6].
  - cakephp/cakephp[5.2.0, ..., 5.2.6] require ext-intl * -> it is missing from your system. Install or enable PHP's intl extension.
This means the intl extension is not enabled. To enable it in XAMPP:
- Open
C:\xampp\php\php.ini. - Find this line and remove the leading
;:
;extension=intl
Change to:
extension=intl
- Save the file and restart Apache.
- To confirm, create a
phpinfo.phpinhtdocswith:
<?php phpinfo(); ?>
Open http://localhost/phpinfo.php and search for “intl”. If you see it, you are done.
More Troubleshooting
Problem: “URL rewriting is not properly configured on your server.”
This happens when mod_rewrite is off or .htaccess is blocked.
- Turn on
mod_rewrite(see Step 5). - Set
AllowOverride AllforC:/xampp/htdocs(see Step 6). - Use a virtual host that points to
webroot(Step 4).
After changes, always restart Apache.
Problem: Blank Page / 500 Error
- Check Apache error log:
C:\xampp\apache\logs\error.log. - Make sure PHP 8.2 is active in XAMPP and the project is CakePHP 5.
- Verify file permissions and that
tmpfolder is writable.
Problem: Composer Not Found
- Reinstall Composer and link it to
C:\xampp\php\php.exe. - Open a fresh Command Prompt after install so PATH updates apply.
Problem: Database Connection Fails
- Check
config/app_local.phpvalues. - Default XAMPP MySQL user is
rootand password is empty (no password). - Confirm DB name exists and collation is
utf8mb4_general_ci.
Quick Example: Check Clean URL
To see that rewriting works, try going to a non-existing page like:
http://mycake.local/cakes
If rewriting works, CakePHP will show a helpful missing route/controller message instead of exposing index.php in the URL. Later, when you add a real CakesController, this URL will load your page cleanly.
FAQs
Do I need MySQL to see the welcome page?
No. The welcome page works without a database. You need MySQL when you start building real features.
Is XAMPP better than WAMP?
Both are fine. XAMPP is common and cross-platform, so many guides use it.
Why do I need a virtual host?
It gives you clean URLs like http://mycake.local and reduces rewrite problems.
Can I install CakePHP without Composer?
No. CakePHP 5 uses Composer. Please install Composer first.
I enabled intl but Composer still errors.
Close and reopen the terminal, restart Apache, and double-check php.ini. Use php -m to list modules and confirm intl is loaded.
Wrap Up
You installed CakePHP 5 on XAMPP (PHP 8.2+), fixed URL rewriting, enabled the intl extension, and connected your project to a MySQL database. Your setup is now ready for real development.
Next step idea: create a simple controller and view (Hello World) to see MVC in action. Add routes, build a table, and try CakePHP’s Bake tool later.


0 Comments